A Construction Guide To
Soil Testing
If your work relies on soil testing, this comprehensive guide is for you.
In this guide we will walk you through all the stages of soil testing for construction, showing you exactly what to expect and how each stage contributes to your success.
On-Site Testing | Soil Sampling | Soil Preparation | Soil Compaction | Plasticity Index (PI) | Shrinkage Limit | Plastic Limit | Liquid Limit | MODS | OMC | CBR | UCS | ITS
REACH OUT
What is Soil Testing?
Soil laboratories follow comprehensive step-by-step procedures, both in the field and in the laboratory.
These procedures shed light on various aspects of soil composition and behavior, including moisture content, tensile strength, bearing capacity and more.
A Critical Role
Soil testing plays a critical role in the construction and engineering industries.
By meticulously analyzing samples, soil testing provide vital information before and during construction.
Engineers and construction professionals use the information from soil testing to assess their materials, understand their sites, plan their work and improve their project's chances of success.
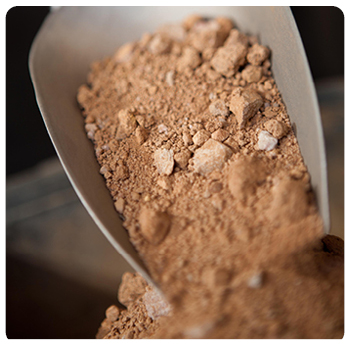
Soil Sampling
Collecting samples of material for testing.

Soil Preparation
Conditioning these samples for testing.
Soil Assessment
Determining sample characteristics.
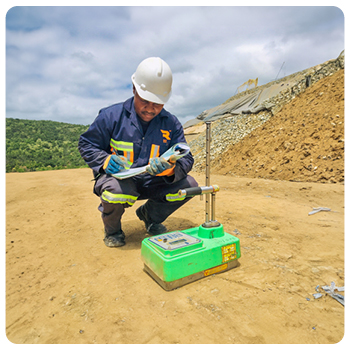
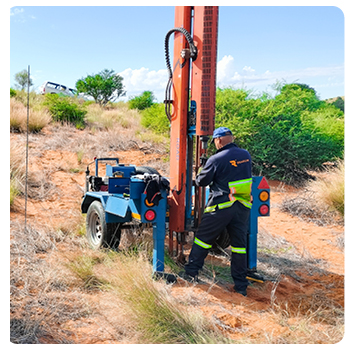
Onsite testing
Not all testing happens in the lab.
Our work include on-site evaluations, like Plate Loads and the Dynamic Probe SuperHeavy testing
Why use on-site testing?
For roadworks and major construction, on-site testing provides real-time insights into the prevailing soil conditions, guiding engineers in making informed decisions about the soil and environment’s suitability.
On-site testing also allows for immediate analysis and decision-making.
Sampling, densities and sand replacement testing typically requires more than a single investigation to provide the necessary results and perspective.
Plate loads, DCP's and DPSH's on the other hand need only be performed once or twice in order to generate a meaningful picture.
Soil Sampling
Collecting samples of material for testing.
Nuclear Densities
Determines the density of compacted material on-site.
Sand Replacement
Determines in-situ density where nuclear option is unsuitable.
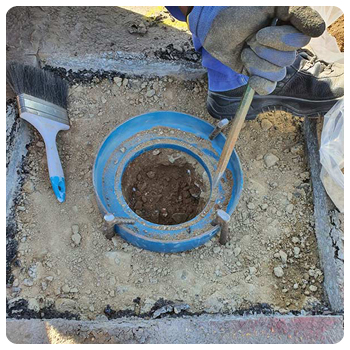
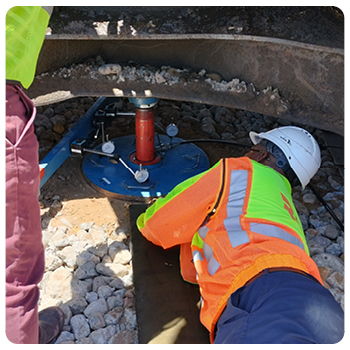
Plate Loads
Determine the bearing capacity under a given load.
Dynamic Cone Penetrometer (DCP)
Determine the expected bearing capacity of soils.
Dynamic Probe SuperHeavy (DPSH)
Determine the expected bearing capacity of soils.

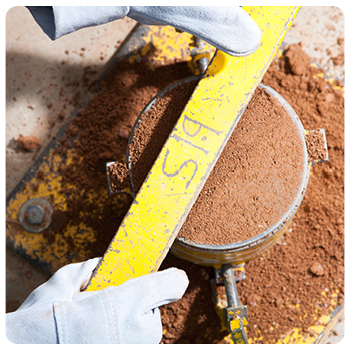
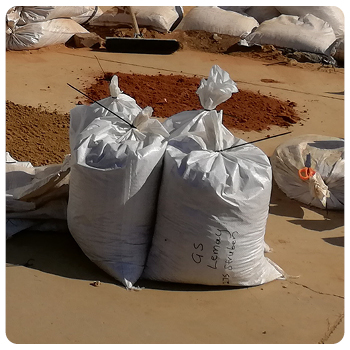
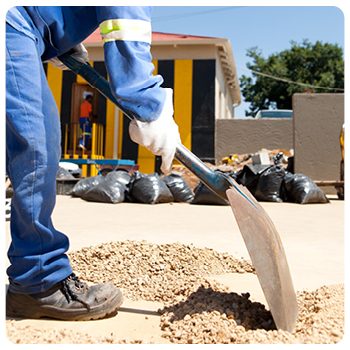
Soil Sampling
Excellent soil sampling practice is critical to ensure the integrity of testing.
Failing to take truly representative samples will produce results that do not reflect the true condition of your material.
Part of excellent practice is collecting soil samples from varying depths and locations. This helps us understand the spatial variation in soil composition and properties across the site.
How much soil is enough?
Typically, 100kg - 120kg of material is a sufficient sample for most soil testing.
There are factors including sample composition and the scope of testing that may require additional material. You can consult us by sending us a message at the top of the page.

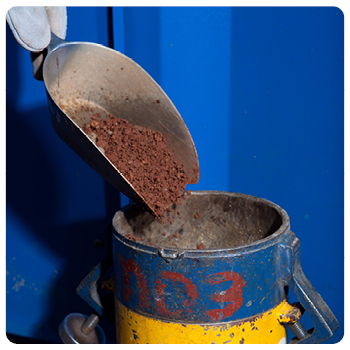
Soil Sampling (Collection)
Collecting samples of material for testing.
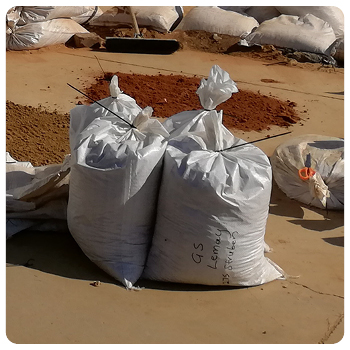
Soil Sampling (Delivery)
Submitting samples of material for testing.
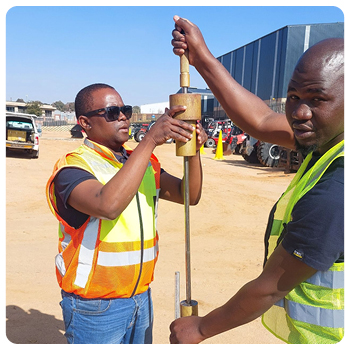
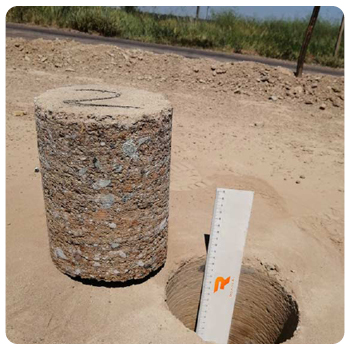
Coring
Extract field specimens for testing.
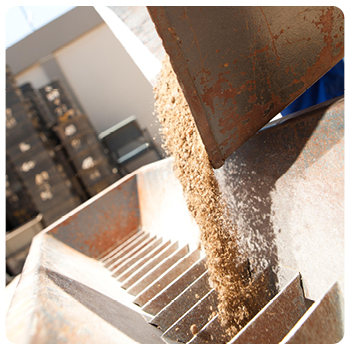
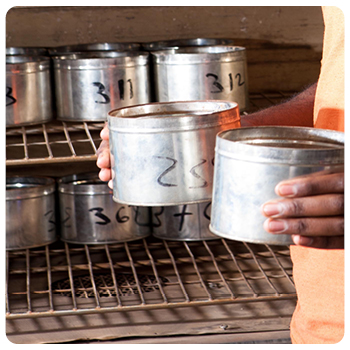
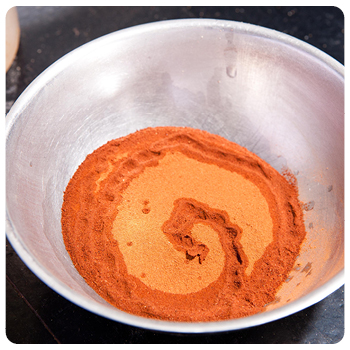
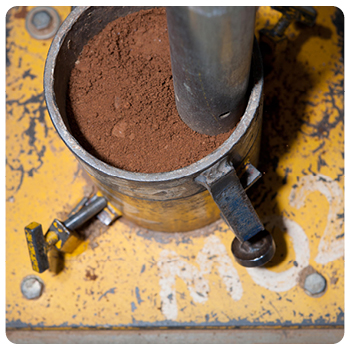
Soil Conditioning
In a soil laboratory, establishing the optimal conditions for testing is essential.
Like all testing, sample conditioning follows step-by-step methodologies to ensure consistency of results.
Soil conditioning or preparation can take up to 24 hours.
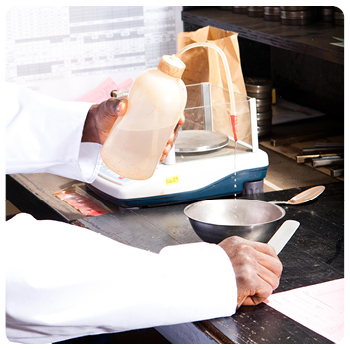
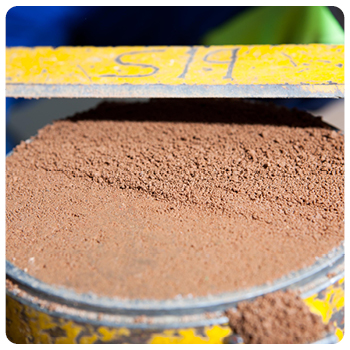
How are samples conditioned?
Samples may be riffled, dried, sieved, soaked, heated, hydrated or compacted for a range of tests.
Soil samples are prepared using various techniques as required for testing such as Maximum Dry Density (MDD), Optimum Moisture Content (OMC), California Bearing Ratio (CBR) , Unconfined Compressive Strength (UCS) or Indirect Tensile Strength (ITS).
Riffling
Sample splitting for uniformity.
Drying
Removing all moisture using evaporation.
Soaking
Simulate adverse moisture conditions.
Oven-Drying
Achieving maximum moisture reduction.
Hydrating
Achieving a specific moisture content or simulating curing.
Compaction
Achieving a specific density for testing.
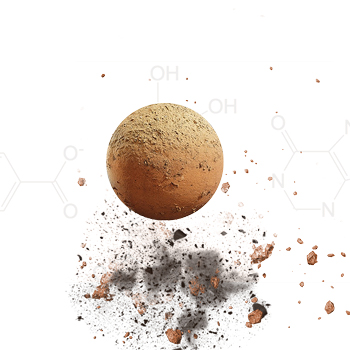
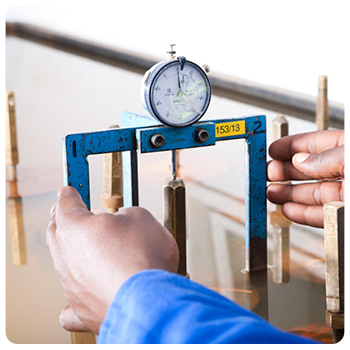
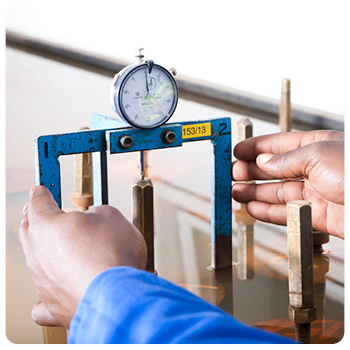
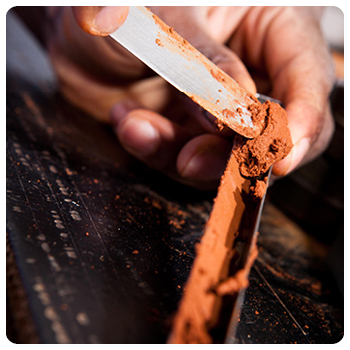
Plasticity Index (PI)
The PI section of a soil laboratory assesses physical and chemical properties.
This includes more delicate testing to determine moisture, plasticity, material classification and more.
Why perform PI testing?
Known as Atterberg Limits, these are key indicators of soil behavior under different moisture conditions.
By determining the shrinkage limit, liquid limit, plastic limit and plasticity index, professionals gain insights into how the soil will behave under varying moisture conditions.
Understanding moisture characteristics is crucial for compaction control, slope stability analysis and overall project planning, and is very commonly used in road construction.
Shrinkage Limit
The water content required for minimum volume change upon drying.
Plastic Limit
Moisture content at which a fine-grained soil can not be remolded.
Liquid Limit
Water content where the soil starts to behave as a liquid.
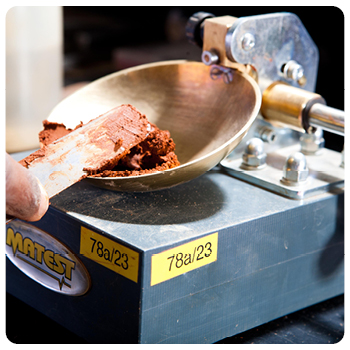
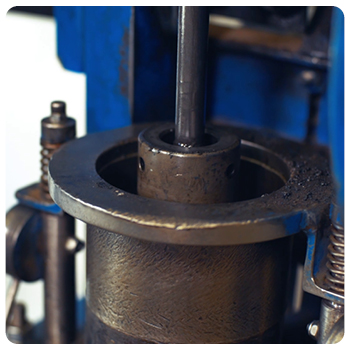
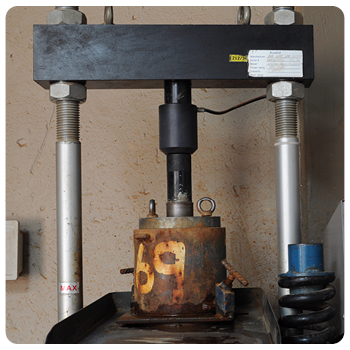
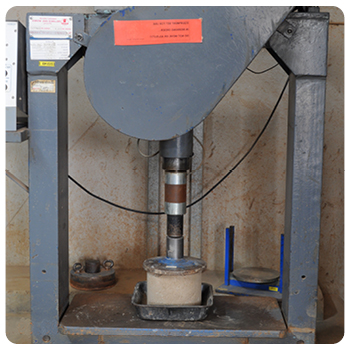
Density and Load Testing
These are the most commonly understood tests among construction professionals.
These tests provide a comprehensive picture of the soil’s engineering properties, influencing critical decisions in foundation design, road works and major construction.
What does this include?
Maximum Dry Density (MDD) refers to the highest achievable density of a soil under specific compaction conditions, the point at which a soil achieves optimal compaction and, therefore, maximum stability.
Optimum Moisture Content (OMC) represents the moisture level at which a soil attains its maximum density during compaction, a vital parameter indicating the precise moisture required for optimal compaction.
California Bearing Ratio (CBR) is a key performance indicator for assessing the load-bearing capacity of a soil, crucial in pavement design and to help engineers evaluate the soil’s ability to support heavy loads.
Unconfined Compressive Strength (UCS) provides insights into the soil’s structural integrity, particularly important in geotechnical engineering and to assess the strength of foundations and retaining walls.
Indirect Tensile Strength (ITS) is a measure of a soil’s ability to resist tensile forces under indirect loading conditions, providing insights into the soil’s durability and behavior under different stress conditions.
Maximum Dry Density (MOD)
The maximum unit weight a soil sample can achieve at its optimum moisture content.
Optimum Moisture Content (OMC)
Water content at which the soil attains maximum dry density.
California Bearing Ratio (CBR)
Evaluate subgrade strength, primarily of roads, pavements and foundations.
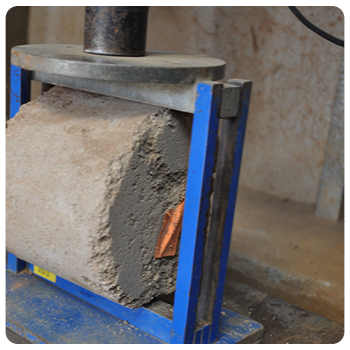
Unconfined Compressive Strength (UCS)
The maximum compressive stress that soil can bear.
Indirect Tensile Strength (ITS)
Soil's strength and adherence against fatigue, temperature cracking and rutting.